Irena is an experienced Content and Email Marketer who loves animals, slow mornings, and all things Tolkien.
Topics
Gmail rules, also known as filters, offer a seamless way to automatically organize your emails without lifting a finger. From automatically archiving emails with specific keywords to forwarding particular messages, these rules are your ticket to an organized inbox.
A rule in Gmail, commonly referred to as a filter, is a feature that allows you to set up specific criteria for your incoming emails. When an email arrives that matches these criteria, Gmail automatically performs actions on it, such as labeling, archiving, deleting, starring, or forwarding the message.
You can create these rules directly from your inbox by specifying criteria such as keywords, sender, subject lines, and more. Once set up, Gmail handles the emails as per the predefined rules, saving time and effort in manually sorting through email messages.
How to create rules in Gmail
Creating a rule in Gmail is a straightforward process. You can start this by using the search bar at the top of your Gmail page to filter emails based on specific criteria, such as sender, subject, or keywords.
Once you've defined your criteria, Gmail allows you to apply various actions to these filtered emails. Whether it's marking them as read, starring, applying labels, or archiving them, the choice is yours.
Step 1: Access Gmail Settings
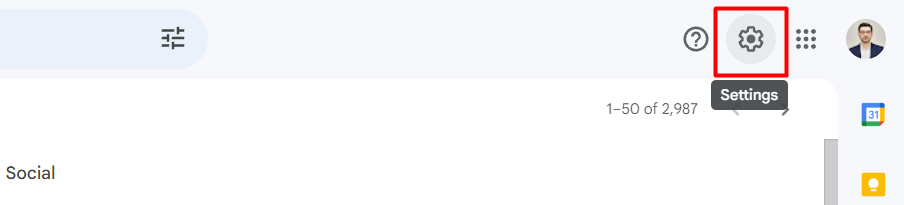
Begin by logging into your Gmail account. Locate the gear icon in the upper right corner of the page and click on it. From the dropdown menu, select "See all settings" to access the full configuration options.
Step 2: Navigate to Filters and Blocked Addresses
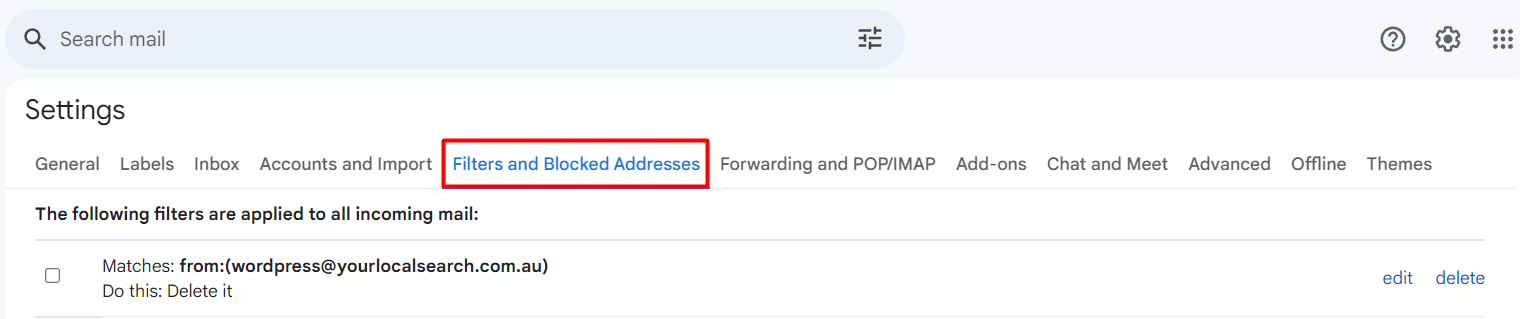
Within the Settings menu, find the tab labeled "Filters and Blocked Addresses." This section is dedicated to creating and managing your email rules.
Step 3: Create a New Filter
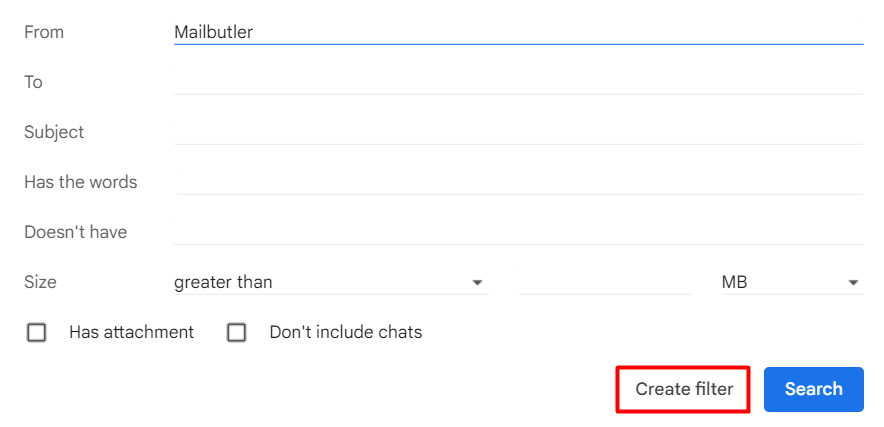
Click on the "Create a new filter" option, located at the bottom of the page. This action opens a dialog box where you can specify the criteria for filtering your emails.
Step 4: Specify Filter Criteria
In the filter creation box, enter the criteria that will trigger the filter. You can filter emails by sender, recipient, subject, keywords within the email body, or even by attachment size. Gmail allows for a combination of these criteria to improve your filter further.
Step 5: Choose Filter Actions
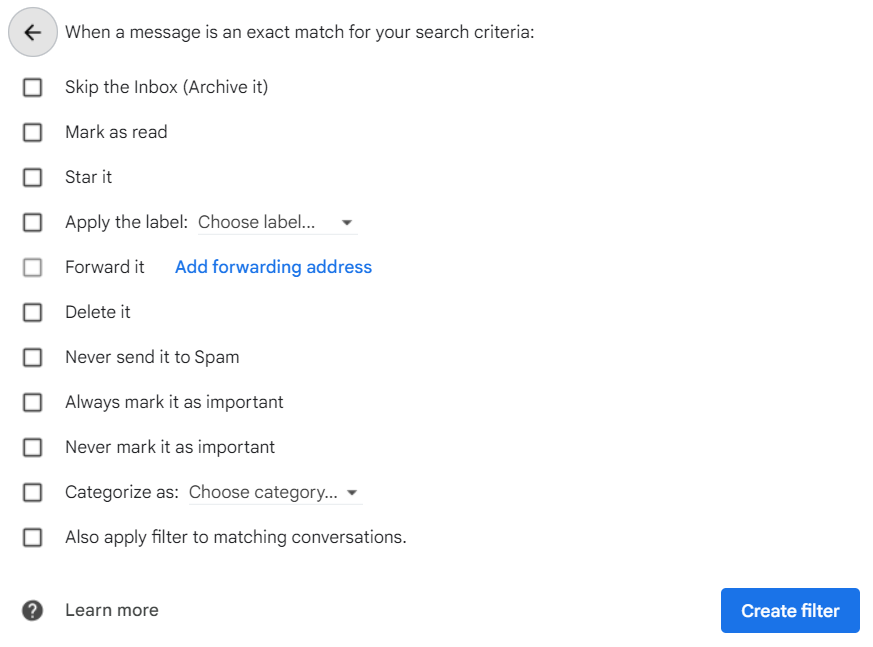
After specifying your criteria, click on "Create filter" to proceed to the action selection screen. Here, you decide what happens to emails that match your criteria. Options include marking the email as read, applying a label, archiving it, forwarding it to another email address, or even deleting it outright.
Step 6: Apply the Filter
Once you've selected the desired actions, click on "Create filter" to finalize your rule. You can also choose to apply the filter to existing messages that meet the criteria by checking the box next to "Also apply filter to matching conversations."
Step 7: Managing Your Filters
After creation, your new filter will appear in the "Filters and Blocked Addresses" tab, where it can be edited or deleted at any time. This flexibility allows you to adjust your filters as your needs or email habits change.
Creating a rule from a specific message in Gmail allows you to quickly automate actions for similar future messages. Here's a step-by-step process to do it:
Open Gmail: Log into your account and navigate to your inbox.
Select the Message: Find the email from which you want to create a rule. Click the checkbox next to the email to select it.
Access More Options: Look for the three vertical dots (⋮) icon in the toolbar near the top of the page, indicating more options. Click it to open the menu.
Choose 'Filter Messages Like These': In the menu that appears, click on "Filter messages like these." Gmail will automatically use details from the selected email to fill in the criteria for the new filter.
Improve Filter Criteria: Gmail will open a window with the sender's address pre-filled in the filter criteria. You can add more conditions here, like subject keywords, email body content, or attachments.
Decide What Happens to Matched Emails: Click on "Create filter" to decide what actions to apply to emails that match your criteria. You might choose to label them, archive them, mark them as read, forward, or delete them automatically.
Create the Filter: After selecting your desired actions, click on "Create filter" again to save your new rule.
By following these steps, you tell Gmail how to handle similar emails in the future, automating your inbox organization based on your preferences and priorities.
How Mailbutler can boost your Gmail rules
Mailbutler's Tags feature complements Gmail's filtering by allowing users to organize emails further with customizable tags, adding another layer of categorization beyond Gmail's labels. When used alongside Gmail filters, which automatically sort emails based on criteria like sender or subject, Mailbutler Tags can help users mark emails with specific tags for even finer organization. This makes it easier to prioritize and find emails.
With Mailbutler, besides email tags you can add also:
Contact Tags: Label your contacts to maintain professional and personal relationships clearly.
Notes and Tasks Tags: Label your tasks and notes for prioritizing and organizing your daily activities.
Template Tags: Tag your email templates to find the appropriate one quickly for any situation.
Signature Tags: Tag your signatures to ensure you always use the right ones for your emails.
How to manage your Gmail rules
Open Gmail Settings: Click the gear icon in the top right corner, then select “See all settings.”
Go to Filters and Blocked Addresses: Find this tab in the settings menu.
Find Your Rule: Your existing rules are listed here. Locate the rule you want to modify or delete.
Edit or Delete: Click “edit” to change a rule or “delete” to remove it. If editing, adjust your criteria or actions, then click “Update filter” to save changes.
Testing and Improving Filters
Review Filter Effectiveness: Periodically review how well your filters are working. Are important emails being sorted correctly? Are any spam emails getting through? Adjust your filters as necessary to improve accuracy.
Considerations for Advanced Filters
Combining Criteria: For more advanced filtering needs, consider combining multiple criteria within a single rule to handle specific scenarios, such as emails from a particular sender containing specific keywords.
Keeping Filters Organized
Regular Maintenance: As with any organizational system, regular maintenance of your Gmail rules is key. Periodically review your list of rules to remove any that are no longer needed or to update those that could be made more efficient.
By following these additional steps and regularly updating your filters, you can maintain a high level of control over your email inbox, ensuring that it serves your needs as effectively as possible.
Importing or Exporting Filters
Import/Export Options: Gmail also allows you to export your filters to a file or import them from one. This is particularly useful if you want to replicate your email organization settings across different accounts or share them with colleagues. To do this, select the filter, then use the "Export" or "Import filters" options within the "Filters and Blocked Addresses" tab.
How to import and export filters in Gmail
To import and export Gmail filters, follow these simplified steps. First, access your Gmail settings by clicking on the gear icon at the top right, then selecting "See all settings." Go to the "Filters and Blocked Addresses" tab to see all your current filters.
To export a filter, select the checkbox next to the filter you want to export, then click "Export" at the bottom of the page. This action will download a .xml file to your device, which contains the filter's details. You can edit this file with a text editor if necessary.
For importing filters into Gmail, click on "Import filters" at the bottom of the "Filters and Blocked Addresses" page. Choose the .xml file containing the filter(s) you wish to import, then click "Open file." After selecting the file, click "Create filters" to add them to your Gmail account.
Best use cases for rules in Gmail
External Emails: Label emails not from "@solarmora.com" as "External."
Internal Emails: Apply "Internal" label to emails from "@solarmora.com."
Meeting Invitations: Emails with "invite.ics" are labeled "Calendar" and skip the inbox.
Promotional and Social Emails: Emails marked as promotions, social updates, etc., get respective labels and are archived automatically.
To create a rule in Gmail, start by clicking the gear icon to access settings, then select "See all settings." Navigate to "Filters and Blocked Addresses" and click on "Create a new filter." You can specify criteria like sender, keywords, or date ranges. After defining the criteria, click on "Create filter" and choose what action to apply, such as labeling, archiving, or forwarding the email. Confirm by clicking "Create filter" again.
How do I automatically move emails to a folder in Gmail?
To automatically move emails into a folder in Gmail, you'll begin by creating a filter. Click on the settings gear, choose "See all settings," then head to "Filters and Blocked Addresses" and click "Create a new filter." Input your criteria for the emails you want to move. Once your filter's criteria are set, click on "Create filter," then select "Apply the label" and choose your desired folder (label). Finally, click "Create filter" to apply these settings.
How do I send an email to a folder in Gmail?
To move emails into folders in Gmail, you can open the message and click the "Move To" button, then select the desired folder from the dropdown. If needed, there's also an option to create a new folder at this step. For mobile users, after opening the email or selecting it in the inbox, tap "More" (three dots), then "Move To," and choose the folder.
Summary
With Mailbutler's Tags and Gmail rules, you can boost your personal or work-related email management.
With Mailbutler's Tags, you can apply more advanced categorization not only to emails but also to contacts, notes, tasks, templates, and signatures. This dual-layer organization helps users prioritize and efficiently manage their inboxes.
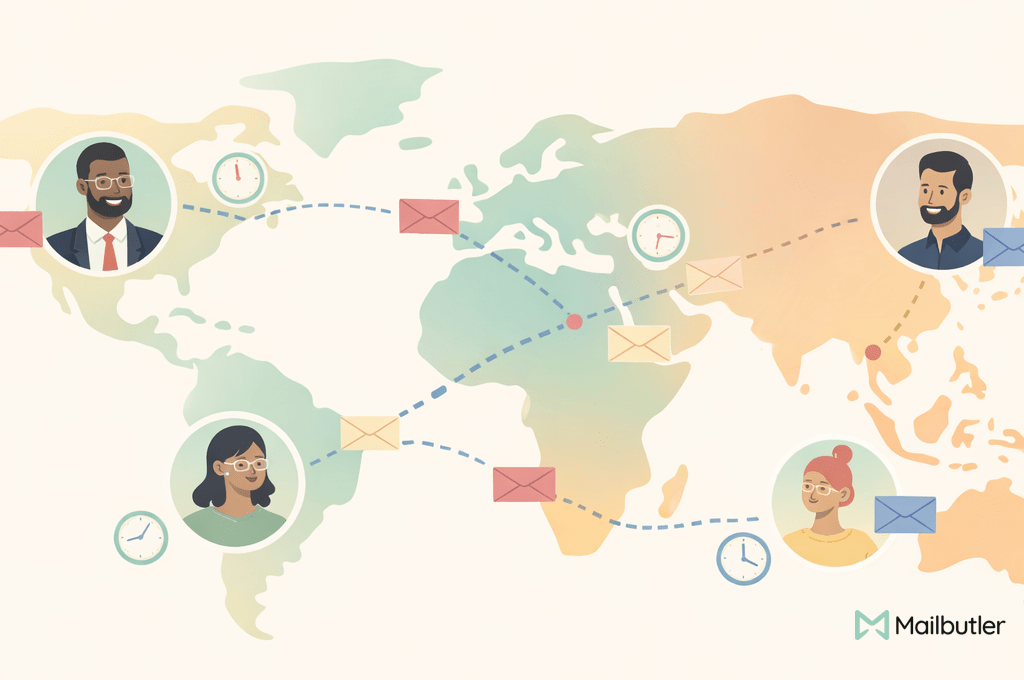
Learn the essential email etiquette rules for remote teams. This guide covers best practices for clarity, tone, time zones, subject lines, and async communication, plus how Mailbutler can support efficient email workflows.
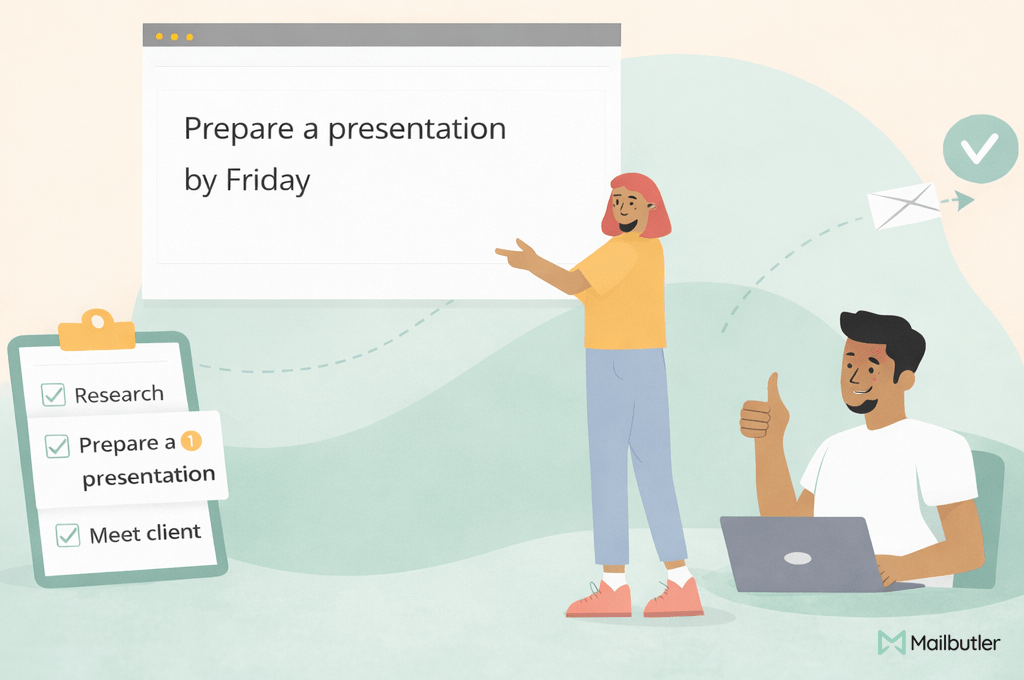
Learn how to delegate tasks via email effectively, with clear examples and best practices for remote teams. This guide helps distributed teams and remote professionals improve async communication and streamline workflows.
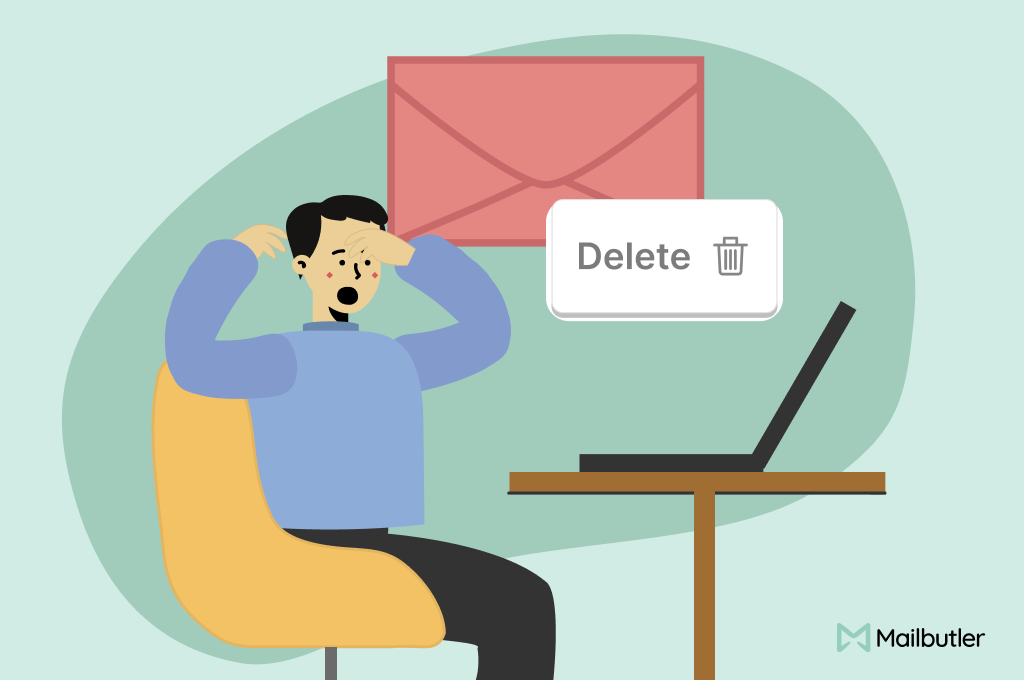
Learn how to delete emails in Gmail, Apple Mail, and Outlook. Step-by-step guides for single and bulk deletion, plus tips to declutter your inbox faster.