


Top 10 Outlook Add-ins in 2026
Compare the top 10 Outlook add-ins for 2026, from email tracking and AI writing to scheduling, CRM, and collaboration.
Gmail Labels can significantly improve individual and team communication. Mailbutler provides the easiest guide for you to follow.

Irena is an experienced content and email marketer who loves animals, slow mornings, and all things Tolkien.
If you've ever felt overwhelmed by the number of emails in your inbox, you're not alone. And guess what? You have a super tool at your disposal to transform your email management game. It's called Gmail Labels.
Properly used, Gmail labeling can significantly improve individual and team communication. Understanding the basics of this feature is key to optimizing inbox management.
Gmail labels act like folders but give you the added benefit of being able to apply multiple labels to a single message.
In a nutshell, Gmail Labels provides a means for you to prioritize, categorize, and filter your emails in a manner that's tailored to fit your needs. Whether you're a professional juggling multiple projects or a team looking for unified communication, understanding and harnessing Gmail Labels gives you both a productive and professional advantage. Stay tuned as we dig deeper into the benefits of this feature and how to apply it to your working life.
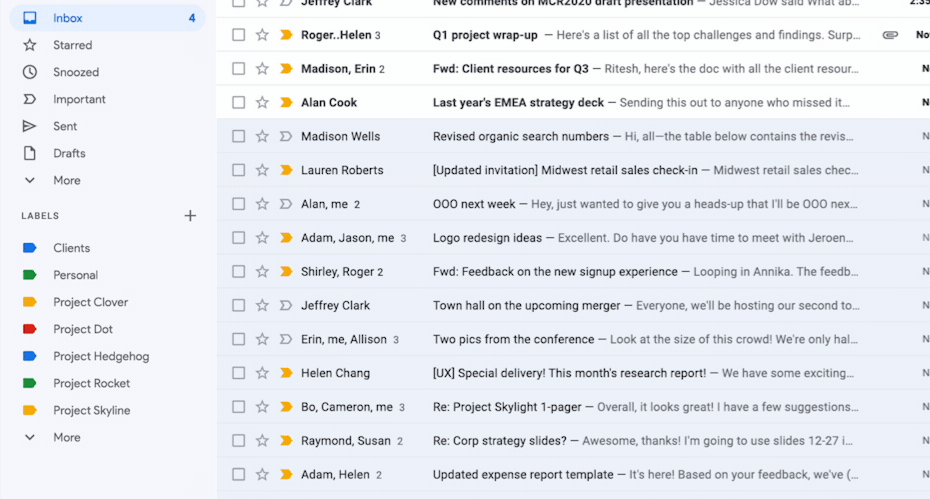
Gmail Labels
Here are some of the key benefits of Gmail Labels:
Gmail Labels allow users to apply multiple labels to a single email. This means an email from your boss about an upcoming project can be labeled as both "Work" and "Projects," ensuring you can access it from either category.
Visual cues can significantly speed up the process of identifying and sorting emails. Gmail Labels can be color-coded, allowing users to instantly recognize the nature or priority of an email.
Gmail Labels work harmoniously with filters. This means you can set up rules to automatically label incoming emails based on specific criteria, such as the sender's address or keywords in the subject line. This automation ensures that your emails are categorized the moment they arrive, saving you time and effort.
Not all labels are of equal importance at all times. Gmail allows you to choose which labels are visible in your sidebar and which ones remain hidden until you need them. This flexibility ensures that your sidebar remains uncluttered while still giving you access to all your labels when necessary.
When searching for an email, you can include label names in your search query to narrow down the results. This integration with Gmail's search functionality ensures that you can find the exact email you're looking for in seconds.
For professionals using Gmail shared inboxes or collaborating on projects, labels can act as indicators or status markers. An email can be labeled "Reviewed" or "Pending Approval," keeping everyone in the loop about its status.
Now that we've gone through the basic concept of labels, let's take it a step further and customize them according to your unique needs and preferences.
Customizing labels involves modifying their appearance to better suit your organizational style, like changing label colors or hiding/showing certain labels. It's an easy process that can be done in just a few clicks.
The following steps will guide you through creating custom labels in Gmail:
Color coding: Remember that labels can be customized with colors for easy identification.
Nesting labels: Gmail allows for labels to be nested under existing ones, creating a hierarchy. This is particularly useful for creating broader categories with sub-categories.
Nesting labels in Gmail can help you achieve an organized, efficient inbox. This technique provides a hierarchical system to manage your emails in a more effective and navigable manner.
Now, to create a nested label under the main label:
Once you've created nested labels, you can:
To assign an email to a nested label, simply drag the email to the desired label in the left sidebar. Alternatively, you can open the email, click on the label icon at the top, and select the appropriate nested label.
The first step in effectively using Gmail labels is to create specific labels that cater to the different types of emails you receive. Here's how:
Manually assigning labels can be time-consuming, especially if you receive a high volume of emails daily. Gmail's filter feature can help:
Best practices for labeling emails in Gmail
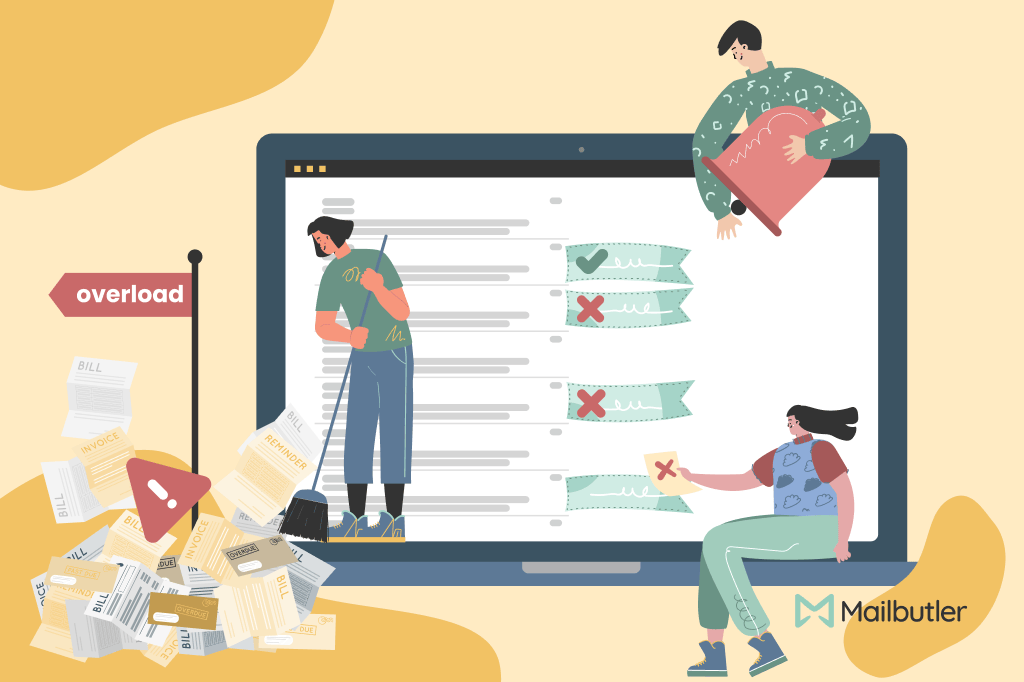
While Gmail labels offer a dynamic way to organize your emails, being excessive with label usage can lead to clutter. You need to maintain a balance between having enough labels for effective organization and avoiding overloading your inbox with labels. Understanding your workflow and prioritizing your email categories can help.
Gmail's labeling feature is great for mail organization. However, add-ons like Mailbutler take its functionality to another level.
Mailbutler introduces a robust Email Tags feature that allows users to label not just emails, but also contacts, notes, tasks, templates, and signatures. It harmoniously couples the element of productivity with Gmail labeling, offering features that redefine email organization and teamwork.
Here are some features that make Mailbutler an excellent choice for enhancing your Gmail labeling strategies:
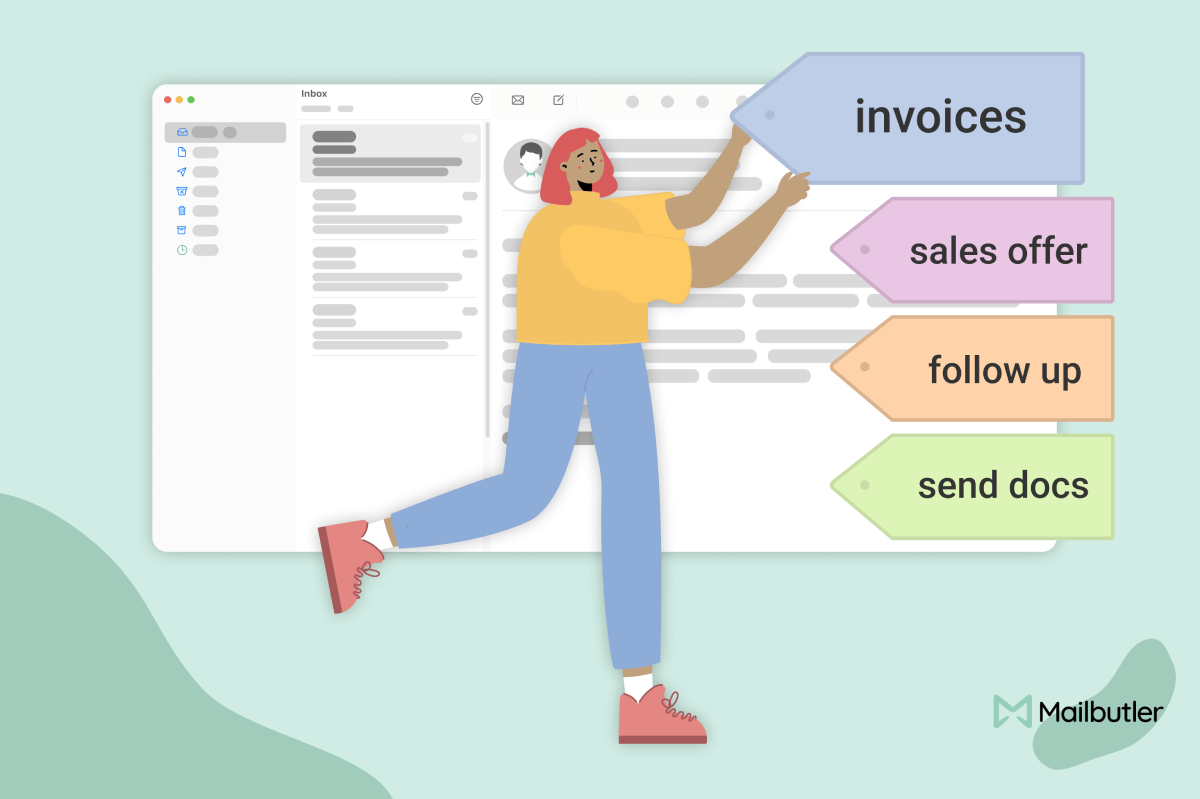
Email Tagging: Quickly add colored tags to your emails, helping you instantly recognize the nature of the message, be it an invoice, a customer request, or information from a team member.
Contact Tags: Different customers have distinct needs. With Mailbutler's tagging, you can label individual contacts, ensuring you always maintain professional and personalized relationships.
Notes and Tasks Tagging: With numerous tasks and notes to manage daily, Mailbutler allows you to label them for priority or theme, ensuring you never miss out on important tasks or information.
Template and Signature Tagging: Find the right email template or signature for any situation by adding tags. This ensures you always send out the most appropriate and relevant emails.
Email Tracking and Analytics: Always know if and when your labeled emails get read, along with access to insightful analytics.
Rich integrations: Mailbutler directly connects with numerous other productivity tools and platforms, such as Trello, Todoist, Asana and more.
While Mailbutler undeniably leads, multiple other tools integrate with Gmail, each adding a unique touch to your labeling experience.
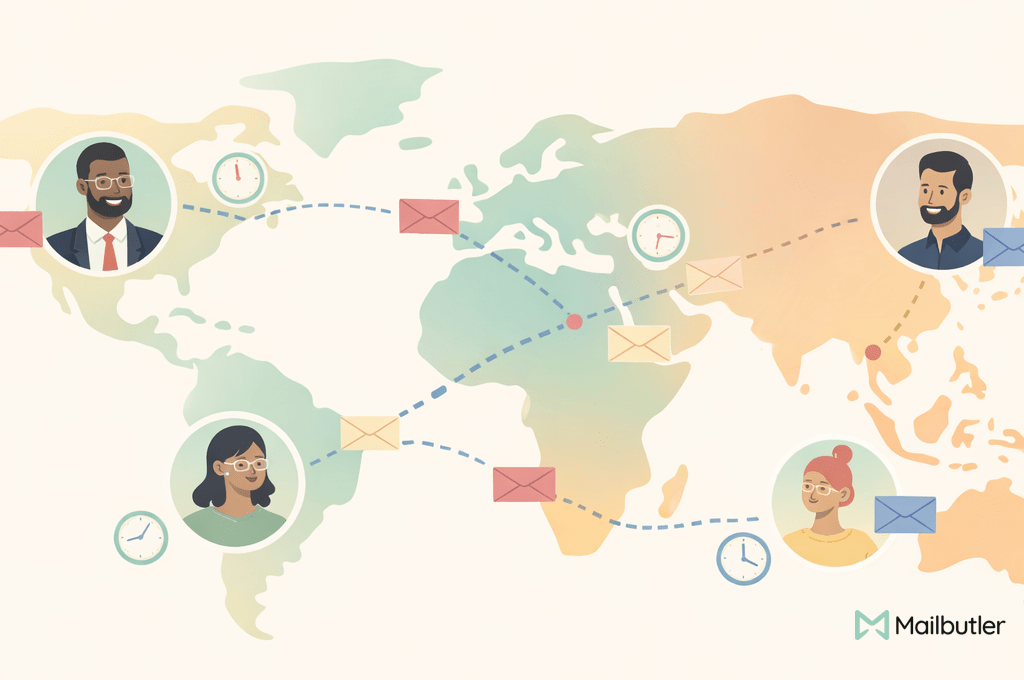
The value of Gmail labels extends far beyond personal email organization. They form a critical part of highly effective team communication strategies. In this section, we'll look into how you can leverage Gmail labels to tighten the loop in your team's communication.
Sharing labels among team members is the cornerstone of collaborative strategies with Gmail platforms. This could be done with Google Groups or with third-party tools, each offering unique features that support seamless email management. These tools 'tag' emails under a label and automatically share them with group members.
Note: Gmail alone does not support shared labels. You will need to incorporate third-party extensions like Mailbutler to have this feature.
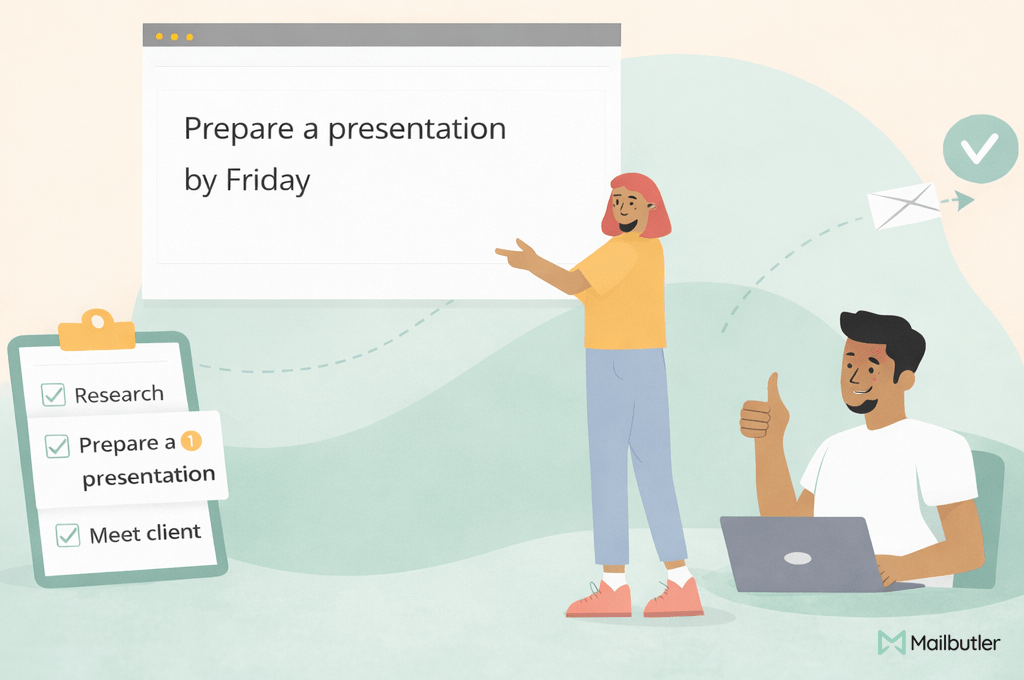
Iterative labeling is another advanced strategy you can employ. This involves updating labels based not just on the current status, but also past status of an email chain. It serves as a way for team members to track the progress and history of a project right from their inbox.
For example, an email thread for a project could initially be tagged with "Phase 1: Ideation".
As the project moves forward, the label could be updated to "Phase 2: Design", and so on. This allows team members to understand the flow of projects without needing to review entire email threads updated every minute.
For a labeling system to be effective, all team members must be on the same page. Hold training sessions to educate new members about the labeling system and its importance. Regularly update the team about any changes to the labeling conventions.
Effective label management combined with strategic usage will greatly enhance your team's email communication, making Gmail a powerhouse tool for collaborative efforts.
Gmail labels function as a powerful organizational tool, providing you with the means to categorize and manage your email traffic efficiently. But how exactly do labels work in Gmail?
Labels in Gmail function like folders in a traditional file system, but with an added bonus: You can attach multiple labels to an email, helping you to sort and locate it under various categories. Whenever you receive a new email, you can either manually assign a label or have Gmail do it for you automatically using filters. Labels can also be color-coded for visual ease, adding to Gmail's comprehensive email management system.
Managing labels effectively in Gmail is an essential skill for individuals and teams aiming to collaborate seamlessly via email. Here's how you can effortlessly create, edit, show, hide, and delete labels in Gmail. To ensure efficient email collaboration, it is critical to learn about label hierarchy, custom labels, label-specific notifications and several ways to automate the labeling process. This Gmail tags guide provides a comprehensive overview of advanced label management including integrations with extensions such as Mailbutler, which further enhance Gmail's labeling capabilities.
Log in to your Gmail account
Access the left sidebar
Create a new label
Name your label
Categorizing labels in Gmail is a straightforward process that saves you time and keeps your inbox organized. To start, you'll need to create a new label or select an existing one. Then, click on the label dropdown arrow and choose "Nested label under." You can then select a parent label to categorize it. Remember, proper categorization is key to maintaining an efficient and organized inbox.
Gmail labels, when used strategically, can be a powerful tool for team collaboration. By organizing emails effectively, streamlining communication, and integrating with third-party tools, teams can ensure that they stay on top of their projects and maintain efficient communication. Whether you're a small team or a large organization, harnessing the power of Gmail labels can significantly enhance your collaborative efforts.


Compare the top 10 Outlook add-ins for 2026, from email tracking and AI writing to scheduling, CRM, and collaboration.
Compare the top 10 email tracking software tools for 2026 by price, features, and platform support to find the best fit for your inbox.
The 5 best YAMM alternatives for Gmail compared. Find the right mail merge tool for outreach, sales, recruiting, and more.
Discover why Mailbutler is the best Word mail merge alternative for Outlook. Create, send, and track personalized emails—no Word required.
Learn the essential email etiquette rules for remote teams. This guide covers best practices for clarity, tone, time zones, subject lines, and async communication, plus how Mailbutler can support efficient email workflows.
Learn how to delegate tasks via email effectively, with clear examples and best practices for remote teams. This guide helps distributed teams and remote professionals improve async communication and streamline workflows.