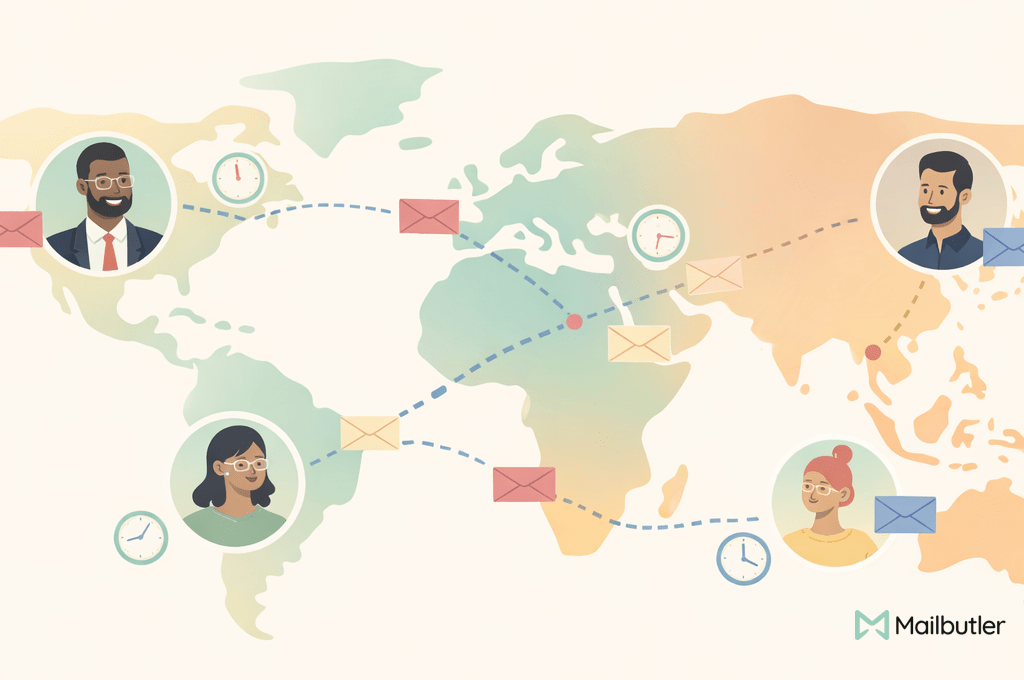
Scheduling emails can greatly improve your email communication efficiency. This feature lets you write an email in advance and choose a specific time for it to be sent automatically. By scheduling emails, you can ensure your messages are delivered at the best possible time, even if you are not available to send them yourself. This can be particularly useful for managing work emails across different time zones, sending reminders, or ensuring that important messages are sent during business hours.
There are two main methods to schedule emails in Apple Mail. The first method uses the built-in scheduling feature available in Apple Mail. The second method involves using Mailbutler's Smart Send Later feature, which offers more advanced scheduling options. Mailbutler's tool provides additional flexibility and control, allowing you to manage your scheduled emails more effectively.
How to schedule emails in Apple Mail

Apple Mail includes a feature that lets you schedule emails to be sent at a future time. This functionality ensures your messages are delivered when it’s most convenient for you or the recipient. Here’s how to schedule an email in Apple Mail:
- Open Apple Mail: Launch the Apple Mail app on your Mac.
- Compose Your Email: Click on the "New Message" button to create a new email.
- Enter Details: Fill in the recipient's email address, subject, and the body of your email.
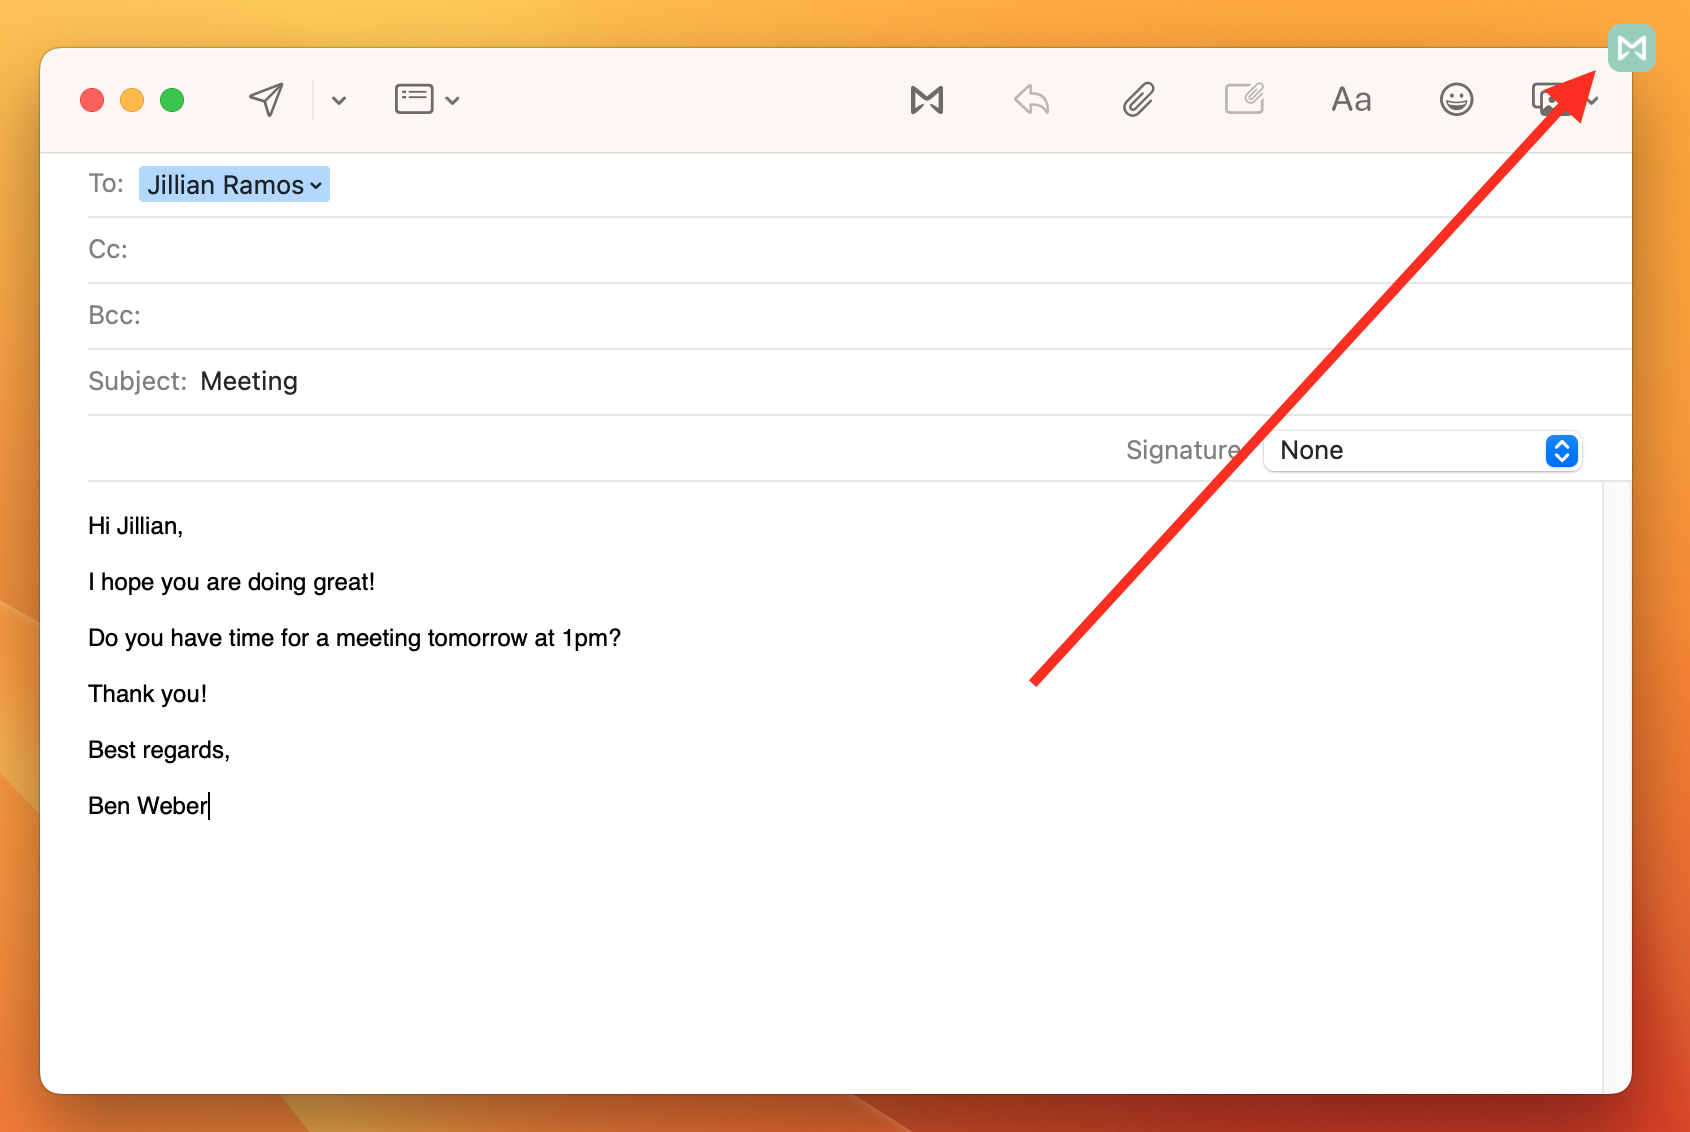
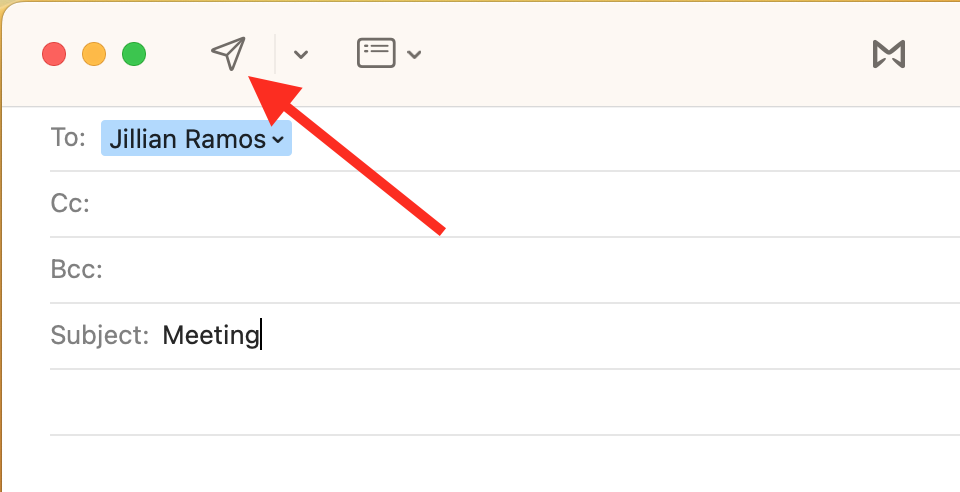
- Schedule the Email:
- After composing your email, look for the "Send" button.
- Next to the "Send" button, you will see a drop-down arrow. Click on it.
- Choose "Send Later" from the options.
- Set the Date and Time:
- A pop-up window will appear.
- Select the date and time you want your email to be sent.
- Confirm your choice.
- Confirm Scheduled Email: Your email is now scheduled to be sent at the specified date and time. You can review or adjust the scheduled email by going to the "Send Later" mailbox until it is sent.
- Change the Scheduled Time:
- Go to the "Send Later" mailbox.
- Double-click the email you want to change.
- Click "Edit" in the top-right corner.
- Adjust the date and time as needed.
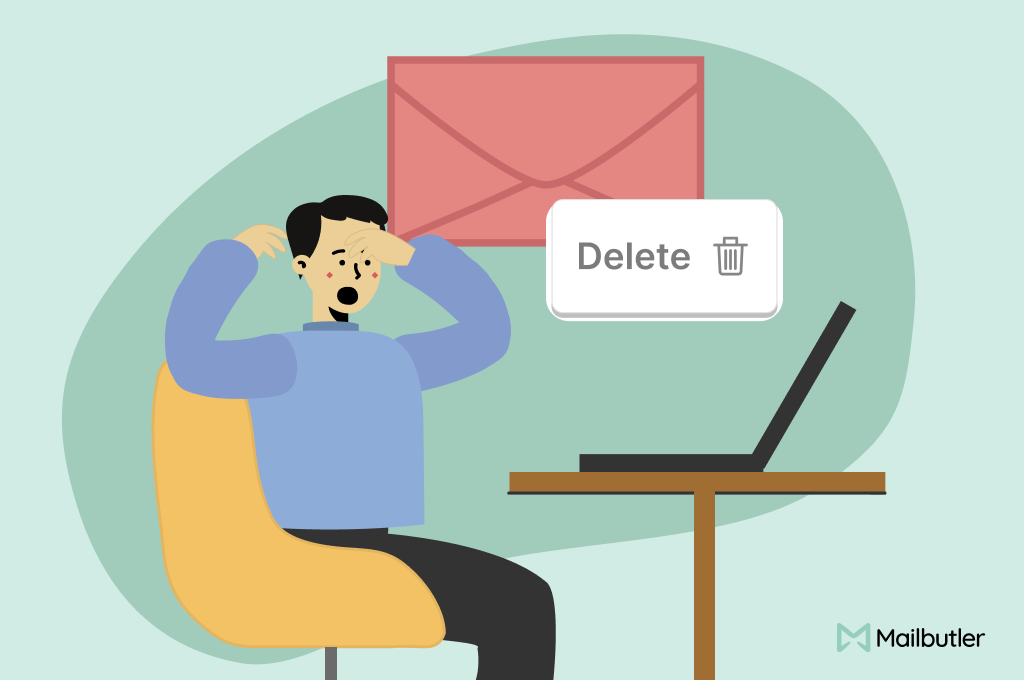
- Cancel a Scheduled Email:
- Go to the "Send Later" mailbox.
- Select the email you want to cancel.
- Click the "Delete" button to prevent it from being sent.
That's it! Your email will be automatically sent at the time you selected.
Scheduling emails with Mailbutler's Smart Send Later
Mailbutler is a top-rated email productivity extension for Apple Mail that boosts your email experience with various features, including the ability to schedule emails to be sent at a later time.
Benefits of Using Mailbutler Over Native Apple Mail Scheduling
- Offline Scheduling: With Mailbutler, you can schedule emails to be sent even if your computer is offline or turned off. This is a significant advantage over Apple Mail’s native scheduling, which requires the computer to be on and connected to the internet.
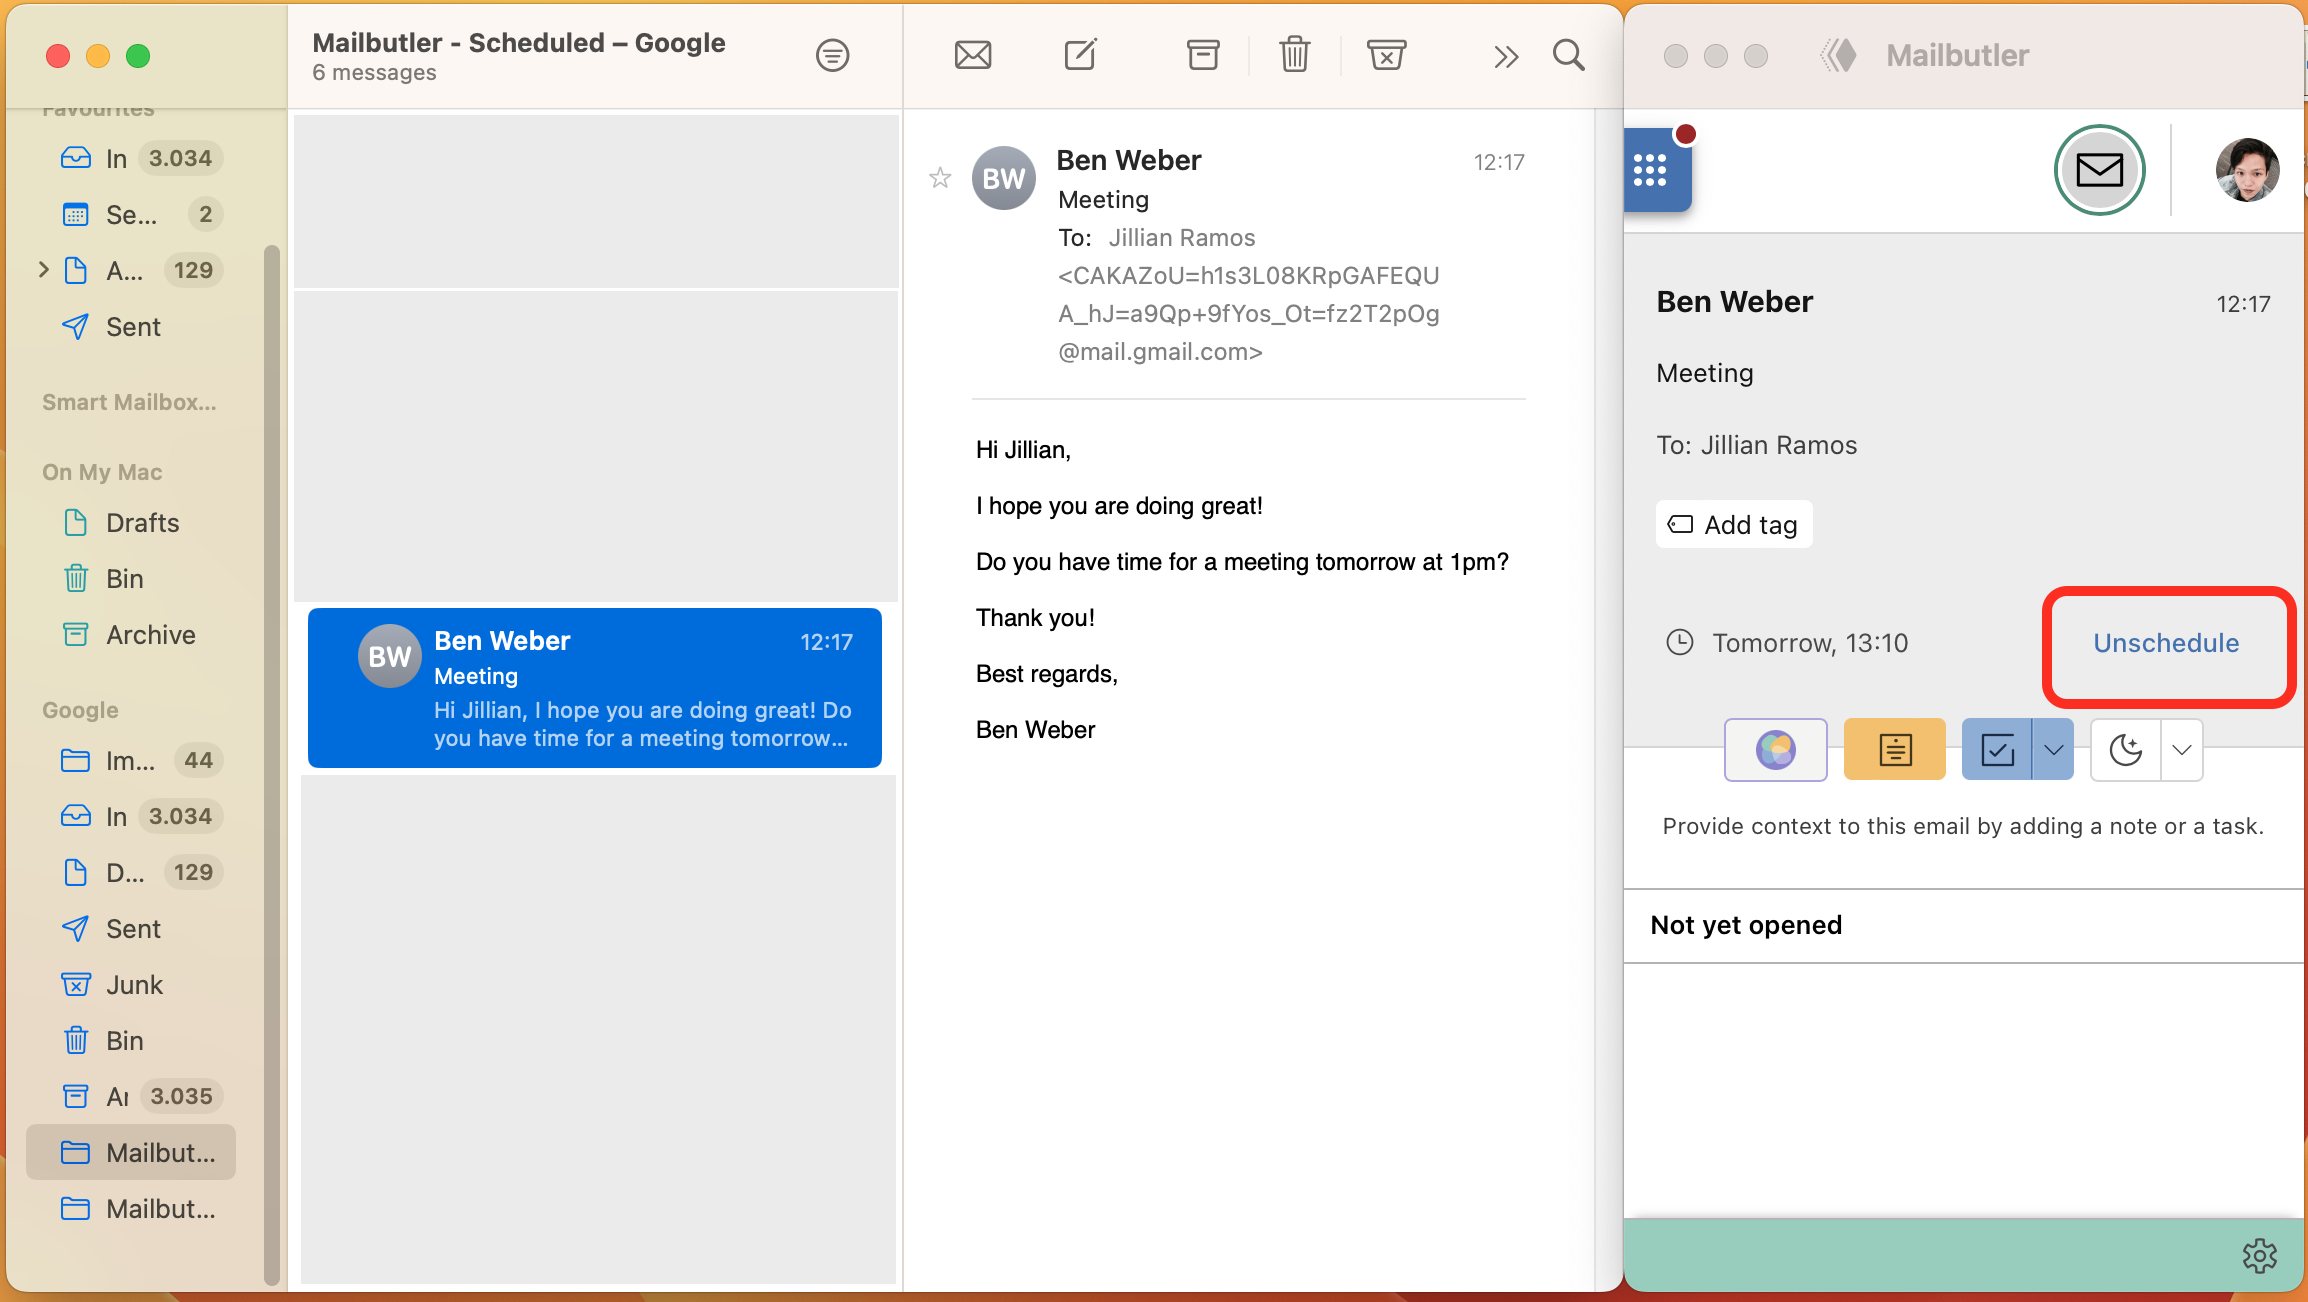
- Tracking and Notifications: Mailbutler provides email tracking for Apple Mail, so you can see when your scheduled emails have been opened and read. This feature gives you insight into the effectiveness of your communication.
- Seamless Integration: Mailbutler fits directly into your existing email client, appearing right next to your regular send button. This integration means you don't need to learn any new software, making it easy to start scheduling emails quickly.
- Recipient Optimized Scheduling: This feature calculates the best time to send emails based on the recipient's previous email activity. Mailbutler suggests an optimal delivery time to ensure your emails are more likely to be opened and read, improving communication effectiveness.
- Stop Sending When Reply is Received: If you schedule an email but receive a reply before your message is sent, Mailbutler can automatically unschedule your email. This prevents sending redundant messages and allows you to adjust your communication based on new information.
Similar post: Apple Mail Email Templates
Additional Tips
Best Practices for Scheduling Emails
- Timing: Schedule emails to be sent during business hours for the recipient. This increases the likelihood that your email will be read promptly.
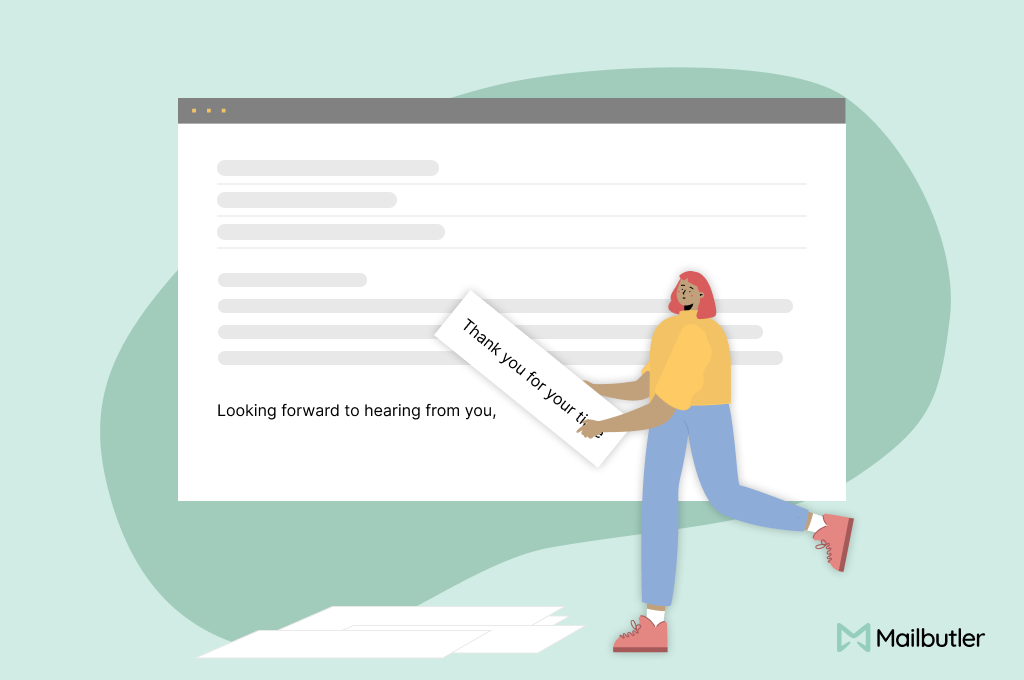
- Review: Always double-check the content and recipients before scheduling. This helps avoid mistakes and ensures your message is clear.
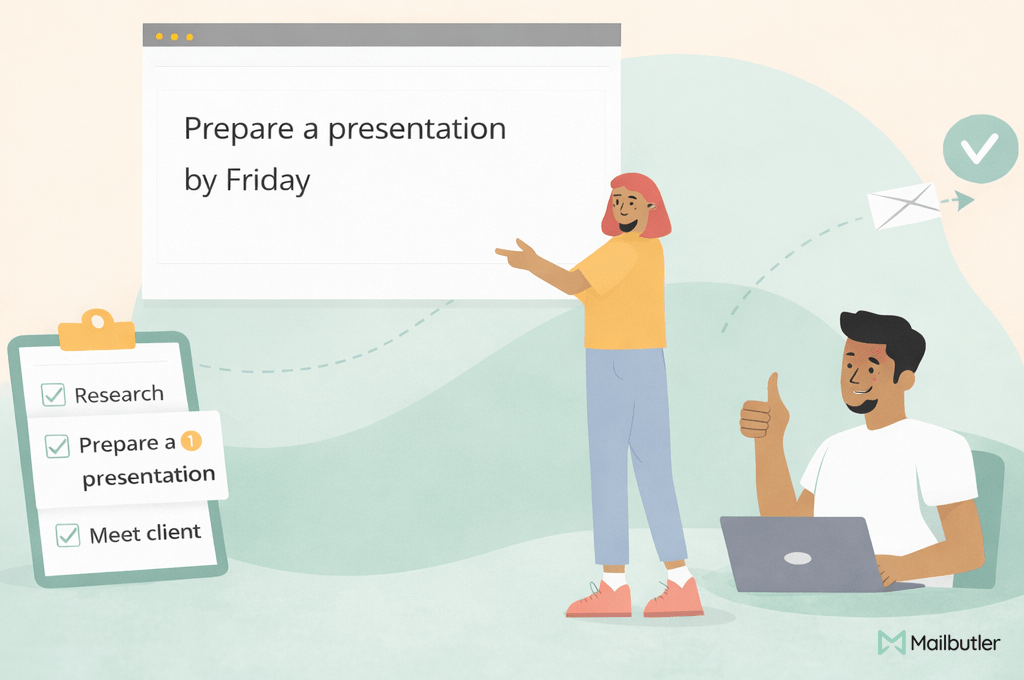
- Follow-up: Schedule follow-up emails if no response is received within a certain period. This keeps the conversation going without manual tracking.
How to Ensure Your Scheduled Emails are Sent Correctly
- Check Connectivity: Ensure your email client is properly connected to the internet before scheduling.
- Verify Settings: Confirm that your email client and Mailbutler settings are correctly configured.
- Monitor Scheduled Folder: Regularly check the Mailbutler - Scheduled folder to ensure all scheduled emails are listed and will be sent at the designated times.
Summary
By using Mailbutler's Smart Send Later feature, you can take advantage of advanced scheduling options, recipient-optimized scheduling, and seamless integration with your email client. This leads to better email management and more successful communication. Try Mailbutler to experience these enhanced features and improve your email productivity.
Related posts: