How to add email contacts in Apple Mail
Learn how to add email contacts in Apple Mail. This guide will walk you through adding contacts in Apple Mail and using Mailbutler’s features.
Learn how to delete an email you sent in Outlook, Gmail and Apple Mail. Discover easy steps and manage your inbox effectively.
An economist by degree, a marketing manager at heart. Seeing my website on the first page of Google is what excites me most. I write mostly about email productivity, email management and AI.
Sometimes you might send an email and then realize you made a mistake. Maybe you sent it to the wrong person, forgot to add something important, or found a mistake. It happens to everyone at some point. This guide will show you how to fix those mistakes by deleting or recalling back the email you just sent.
When you delete an email, it's only removed from your "Sent" folder, leaving the recipient's copy untouched. Essentially, this action tidies up your own inbox without affecting the message's status elsewhere.
Recalling an email, however, is a more complex process aiming to completely retract a sent message from the recipient's inbox. This function's effectiveness varies, depending on several factors including the email service's capabilities and whether the recipient has already opened the email. Understanding these distinctions is crucial for effective email management.
When you hit "send" on an email, it travels from your device through your email provider's server to the recipient's email server, and finally to their inbox. This journey involves several steps, ensuring the email's delivery even if there's a hiccup along the way. Because of this multi-step process, deleting an email from your "Sent" folder only affects your copy. The email has already reached the recipient's server and their inbox, making deletion from your end irrelevant to its presence in their account.
Learn how to recall on different email clients:
How to recall an email in Gmail
How to recall an email in Outlook
How to recall an email in Apple Mail
Source: Google
Deleting emails in Gmail helps keep your inbox organized and free of clutter, ensuring that only necessary communications are kept for reference or action.
Alternatively, you can try to recall Gmail email messages by using the "Undo Send" feature. Immediately after sending an email, Gmail provides a brief window where you can choose to undo the send. This feature must be enabled in your Gmail settings, allowing you to set a cancellation period of 5, 10, 20, or 30 seconds. If you act quickly and click "Undo" within this timeframe, the email will not be sent, effectively recalling it before it reaches the recipient's inbox. Now let's continue with some other Gmail productivity tip: mass deleting emails.
Mass deleting emails in Gmail can help you manage your Gmail inbox more efficiently by clearing out unwanted or unnecessary messages. Here's a step-by-step guide to doing this:
older_than:1y to find emails older than a year.Deleted emails go to the Trash and will be automatically deleted after 30 days. To permanently delete them before this:

Source: Microsoft
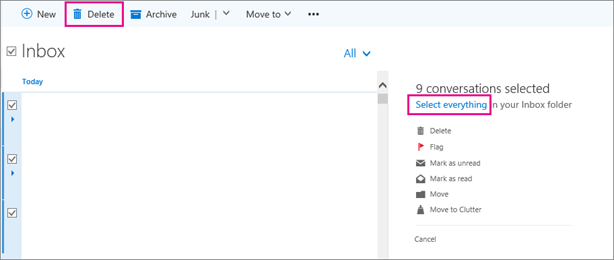
To delete an email in Outlook:
Alternatively, in Outlook, you can attempt to recall an email message if both you and the recipient are using Microsoft Exchange or certain Microsoft 365 accounts and the recipient hasn't read the email yet.
This is done by opening the sent email, selecting "File" > "Info" > "Resend or Recall" > "Recall This Message," and then choosing either to delete unread copies of the email or replace them with a new message. Success depends on specific conditions, such as both parties using compatible email systems and the message not being read.
If you are using Outlook.com, you can undo send emails by enabling the 'Undo Send' feature, which gives you a brief window to retract an email after hitting the send button. This feature can be a lifesaver for correcting mistakes or second thoughts about an email's content. Once enabled, you can choose a cancellation period ranging from a few seconds up to 30 seconds, allowing you time to reconsider your sent email.
To use this feature, simply click the "Undo" option that appears after sending an email. This action effectively stops the email from reaching the recipient's inbox, giving you the opportunity to edit or discard it altogether.
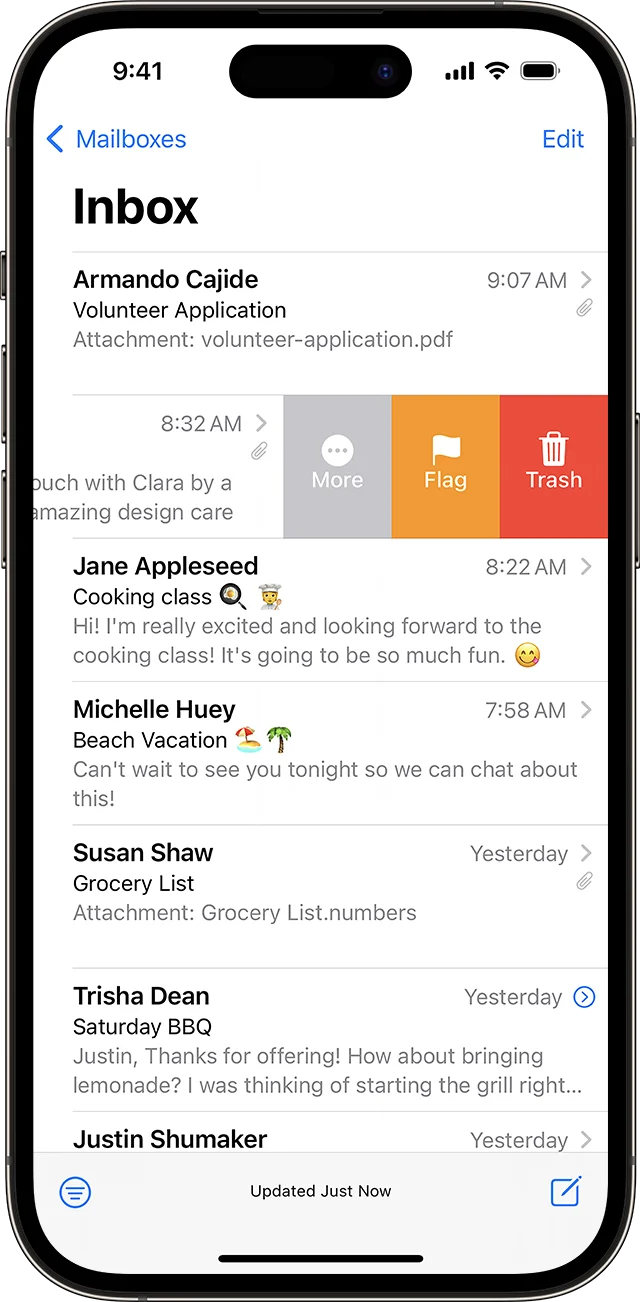
Managing your emails in Mail on your Mac can help keep your inbox tidy and free up space. Here's a straightforward guide on how to delete emails, view deleted messages, and permanently remove them.

Source: Apple
These steps offer a detailed approach to managing your emails in the Mail app, ensuring you can keep your inbox organized and recover important messages you might have accidentally deleted.
This guide explores how to correct email mistakes by either deleting or recalling sent emails, highlighting the differences between the two actions. Deleting an email removes it from your "Sent" folder without affecting the recipient's inbox, while recalling aims to remove the email from the recipient's inbox entirely, though its success depends on various factors like the email service used and whether the email has been opened.


